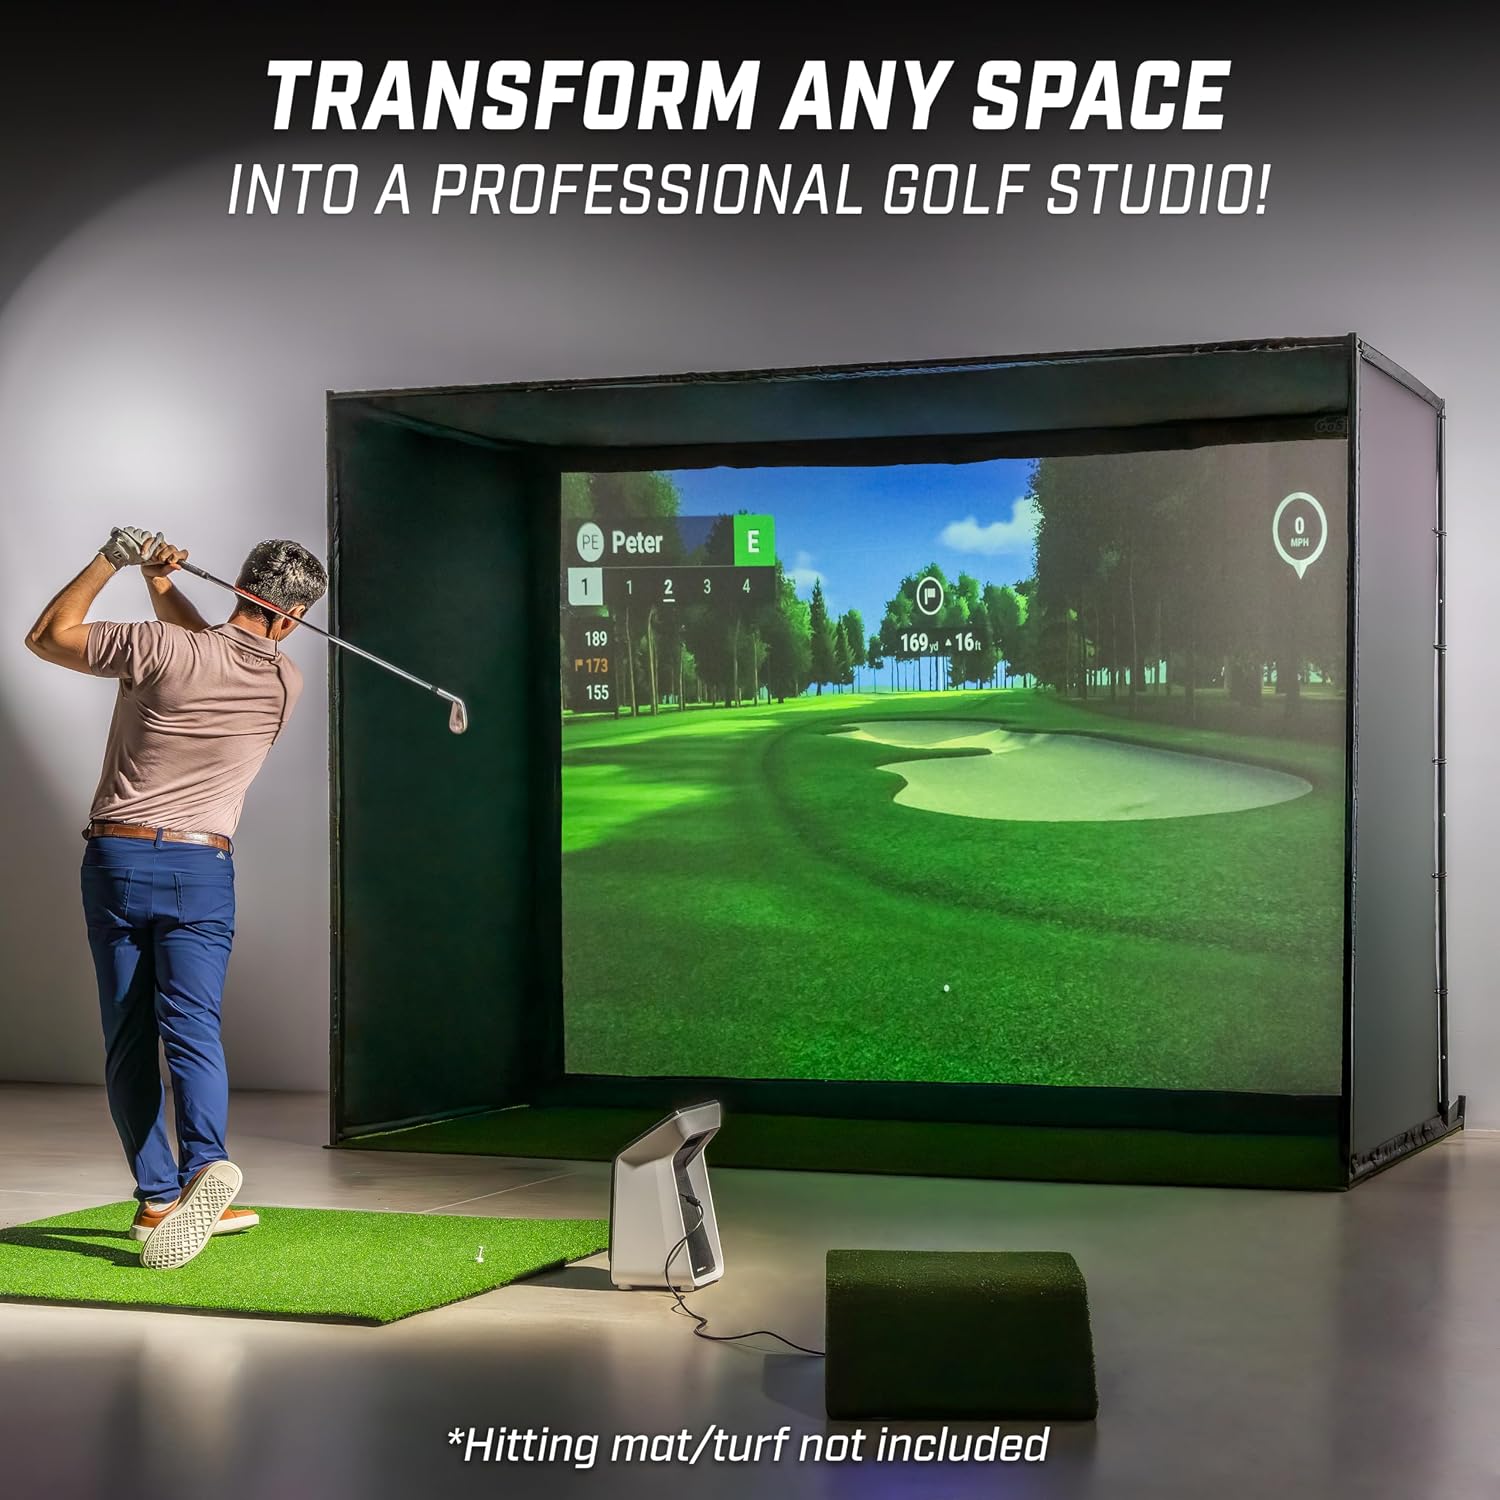
A home golf simulator is exactly what it sounds like: a setup in your garage, basement, or spare room that lets you hit real golf balls into a screen displaying a virtual course or driving range, while sensors and cameras measure exactly how the ball flew. The three physical components that make or break the experience are the enclosure (the frame and netting structure that contains errant shots and defines the bay), the impact screen (the projection surface the ball actually strikes — it has to absorb hundreds of impacts without tearing), and the hitting mat (the turf surface you stand and swing on, which determines both feel and joint safety over thousands of reps). Get all three right and you have a practice environment that serious club fitters and teaching professionals would be comfortable using every day. Get any one of them wrong and you’ll be dealing with ripped screens, bouncing balls, or a mat that destroys your wrists inside six months. This guide ranks the real options at each price tier, names the tradeoffs explicitly, and gives you a clear decision framework — because the combinations matter as much as the individual parts.
| EDITOR'S PICKComplete Golf Simulator Enclosu… | Mid-tier[GoSports Range Cage 10 ft x 8 f…](https://www.amazon.com/dp/B0CQPMLDTS?tag=greenflower20-20) | Budget pick[GoSports Golf Simulator Impact…](https://www.amazon.com/dp/B0B8L2TNK8?tag=greenflower20-20) | |
|---|---|---|---|
| Size | — | 10 ft x 8 ft | 6.5 ft x 7 ft/9 ft x 7 ft |
| Frame Poles | ✓ | ✗ | — |
| Side Shank Nets | ✓ | ✗ | — |
| Projector Mount | ✓ | — | — |
| 4K Ready Screen | ✓ | — | — |
| Warranty | 12-Mo | — | — |
| Price | $639.99 | $164.47 | $69.98 |
| See on Amazon → | See on Amazon → | See on Amazon → |
Why the Enclosure Is Your First Decision, Not Your Last
Most buyers start with the launch monitor (a Trackman 4, Foresight GCQuad, or SkyTrak+) and treat the enclosure as an afterthought. That’s backwards. The enclosure dictates your minimum room dimensions, which determines which launch monitors will read accurately, which screen sizes are physically feasible, and how much of your projection throw distance you actually have available.
Room geometry is non-negotiable. The standard guidance from Golf Digest’s Home Simulator Buyer’s Guide and corroborated across GolfWRX build threads is:
By the numbers:
- Minimum ceiling height for a full driver swing: 9 ft (10 ft strongly preferred)
- Minimum width for a contained bay with side netting: 12 ft (14–16 ft for comfort)
- Minimum depth from screen to rear wall: 15 ft (18–20 ft for projector throw clearance)
- Typical enclosure frame footprint for a 10×10 ft screen: 12 ft W × 10 ft H × 4–6 ft D
Once you’ve confirmed your room fits, here’s how the enclosure tiers actually stack up.
Budget tier ($300–$700): DIY netting frames and basic steel-pipe systems. Products in this range — typically using 1.5-inch steel conduit or pre-cut aluminum extrusion kits — are structurally adequate for containing shots, but owners consistently report two failure modes: (1) the frame flexes enough under repeated screen tension to pull mounting hardware loose over 6–12 months, and (2) side netting attachment is often improvised with zip ties that degrade under UV and repeated impact. For a garage setup where you’re using a slower-speed radar unit (SkyTrak+ or Garmin Approach R10), this tier is defensible. For anything Foresight or Trackman that involves side-camera placement, the geometry tolerance here is too loose.
Mid-tier ($800–$1,800): Purpose-built simulator enclosures from Carl’s Place, Rain or Shine Golf, and SIG (Shop Indoor Golf). This is where the market converges for serious hobbyist builders. Carl’s Place in particular has earned consistent praise in MyGolfSpy’s simulator coverage for their modular design — panels snap together with T-slot aluminum, tolerances are tight enough that a 10×10 screen sits flat under tension, and the side baffles are deep enough to catch pull shots that miss the screen. Rain or Shine Golf’s enclosures are similarly well-regarded in GolfWRX build threads for customer support and clean instruction documentation. At this price point, you’re getting a structure that will hold a 4.5mm or heavier screen without sagging at the corners.
Premium tier ($2,000–$4,500+): Fiberbuilt, TrueStrike, and custom steel-welded bays. These are the enclosures you see in commercial club-fitting bays and high-end home simulator rooms. The distinction isn’t just aesthetics — welded steel frames hold geometry permanently, which matters when you’re relying on a Trackman 4 camera system whose calibration is position-sensitive. If you’re running a GCQuad and have a fitting client hitting balls five days a week, the mid-tier enclosures will drift over time. The premium bay won’t.
Decision rule: If your room is confirmed, your launch monitor is radar-only (SkyTrak+, Mevo+), and your budget is under $1,200 total for the physical setup, the Carl’s Place or Rain or Shine mid-tier enclosure is the right call. If you’re running a camera-based system (GCQuad, Trackman 4) or billing clients, step to the premium welded bay. The false economy of saving $1,000 on the enclosure and then fighting calibration drift on a $15,000 launch monitor is math that doesn’t work.
Impact Screens: The Part That Actually Gets Hit
The impact screen is the most abused component in any simulator setup. It absorbs the kinetic energy of a golf ball traveling at 100–170+ mph, thousands of times, and it needs to stay taut, wrinkle-free, and image-sharp enough to not ruin the visual experience. Plugged In Golf’s long-term simulator reviews and Golf Monthly’s mat and screen roundups both consistently distinguish three real performance tiers, which align (roughly) with material thickness.
Standard screens (2.5–3mm, single-layer woven polyester): These are the screens bundled with most sub-$1,000 simulator packages. Owners report they hold up fine for casual use — a few sessions per week with irons — but drivers at full speed begin to show edge fraying within 12–18 months. They’re adequate for a beginner or occasional user and genuinely project well if your lumens are sufficient (4,000+ recommended for daytime use). The image quality is often better than expected at this tier.
Mid-weight screens (4–4.5mm, multi-layer): Carl’s Place 4.5mm screen and the Golf Simulator Store’s equivalent are the workhorses of the enthusiast segment. MyGolfSpy’s simulator coverage notes that the multi-layer construction absorbs impact significantly better by distributing force across layers rather than concentrating it at the weave intersections. Owners consistently report these lasting 3–5+ years under heavy use (daily sessions, driver included) with proper tensioning. Projection quality is slightly milkier than a thinner single-layer screen, which means you may want to push projector brightness to 5,000+ lumens — a real cost consideration.
Premium screens (5–6mm, triple-layer or ballistic weave): Fiberbuilt and SIG’s top-tier screens fall here. These are built for commercial-grade repetition — a fitting studio running 8-hour days — and they show it in weight, tensioning hardware, and price ($600–$1,200 for the screen alone). For a home setup, the honest truth is that the 4.5mm tier gets you 90% of the durability at 60% of the cost. The premium screens make sense if you’re running a business or if you’re the kind of equipment enthusiast who genuinely uses the simulator 90+ minutes a day, seven days a week.
One constraint most guides understate: screen tension directly controls both image quality and impact durability. A 4.5mm screen installed slack will fail faster and project worse than a 3mm screen installed taut and properly framed. GolfWRX builder threads on this topic are consistent — spend time on tensioning, not just on screen spec, and your budget-tier decision opens up a notch.
Hitting Mats: The Most Underrated Component for Long-Term Use
The hitting mat is where most budget gets cut and where most bodies pay the price. A bad mat — one that’s too firm, too thin, or poorly constructed at the club-entry zone — transfers shock directly into the wrists, elbows, and shoulders over thousands of reps. Golf Monthly’s 2025 mat roundup is explicit on this: low-density foam-backed mats under 1 inch of total depth are the leading cause of simulator-related overuse injuries in dedicated home users.
Entry-level mats ($80–$200, 3/4” to 1” depth): Adequate for occasional use and genuinely fine if you’re a beginner or playing fewer than 3 sessions per week. Owners report the turf surface wears into a groove at the strike zone within a year of heavy use, which starts to affect the divot feedback your launch monitor reads (relevant for systems like GCQuad that use camera data from the turf interaction). Replace the turf insert, not the whole mat, when this happens — most reputable brands sell replacement inserts.
Mid-tier mats ($250–$600, 1.5”–2” depth, dual-layer foam): The Fiberbuilt Flight Deck and TrueStrike Single mat are the reference products here and they’ve earned it consistently across Golf Monthly and GolfWRX reviews. The key engineering difference is a gel or multi-density foam base under a tight-weave synthetic turf — the combination absorbs fat shots without the jarring “hitting concrete” feedback that injures joints. Owners who practice more than 4 sessions per week consistently name this the minimum tier worth spending on. The Fiberbuilt in particular gets repeated mentions for holding up under driver use, where the swing arc bottoms out differently than with irons.
Premium mats ($700–$1,500+, integrated stance pad and fairway/rough zones): The SkyTrak ProTee mat, full-length Fiberbuilt Performance Hitting Mat (with separate tee and fairway zones), and similar products are designed for club-fitting studio use. For a home build, these are genuinely worthwhile if you’re a teaching professional hosting students or if you’re simulating different lie conditions intentionally. For a solo practice setup, the mid-tier mat with a quality replacement insert program is the better capital allocation.
Decision rule on mats: If you’re hitting more than 200 balls per session, 3+ times per week, do not cut below the mid-tier mat. The $300 you save on a budget mat is a plausible orthopedic bill within two years. If your use is lighter, the entry-level is honest value.
Putting the System Together: The Combinations That Actually Work
The real trap in simulator buying is optimizing each component in isolation. Here are the three combinations that consistently show up as coherent, well-balanced setups across Golf Digest’s buyer guides and the GolfWRX build community:
Setup A — The Committed Hobbyist (~$1,500–$2,500 for the physical bay, excluding launch monitor): Mid-tier enclosure (Carl’s Place or Rain or Shine) + 4.5mm impact screen + Fiberbuilt or TrueStrike mid mat. This combination handles daily use, works with any radar-based launch monitor, and has enough structural integrity to hold calibration over a multi-year build. It’s the setup most serious home simulators land on after their first year of use.
Setup B — The Club Fitter or Teaching Pro (~$3,500–$6,000 for the physical bay): Premium welded steel enclosure + 5mm or ballistic screen + full-length Fiberbuilt or ProTee mat. Geometry holds for camera-based launch monitors (GCQuad, Trackman 4), the screen handles commercial-grade volume, and the mat communicates real divot feedback that a teaching pro can use instructionally.
Setup C — The Budget-Smart Beginner (~$600–$1,000 for the physical bay): DIY conduit frame or basic steel kit + standard 3mm screen + entry-level dual-layer mat. This is a reasonable start if your launch monitor is SkyTrak+ or Mevo+ and your use is under 3 sessions per week. Plan to upgrade the screen and mat in Year 2 as your usage and investment in the simulator deepens — the frame can usually stay.
The through-line across all three: don’t compress budget on the mat. It’s the component your body interacts with on every single swing, and the one whose failure mode is most expensive in the long run. Allocate there first, then work outward to the screen, then the enclosure.
If you’re pairing a camera-based launch monitor with a home setup, spend on the enclosure to preserve geometry. If you’re radar-only, spend on the screen and mat. The launch monitor anchors the system’s accuracy ceiling — the physical bay determines whether that ceiling is achievable over time.